tAI - Get Terminal Commands Using Natural Language
A python package to help you get terminal commands using natural language

tAI is a simple command line utility tool built on top of Python. Which can generate any commands based on natural language.
What is tAI?
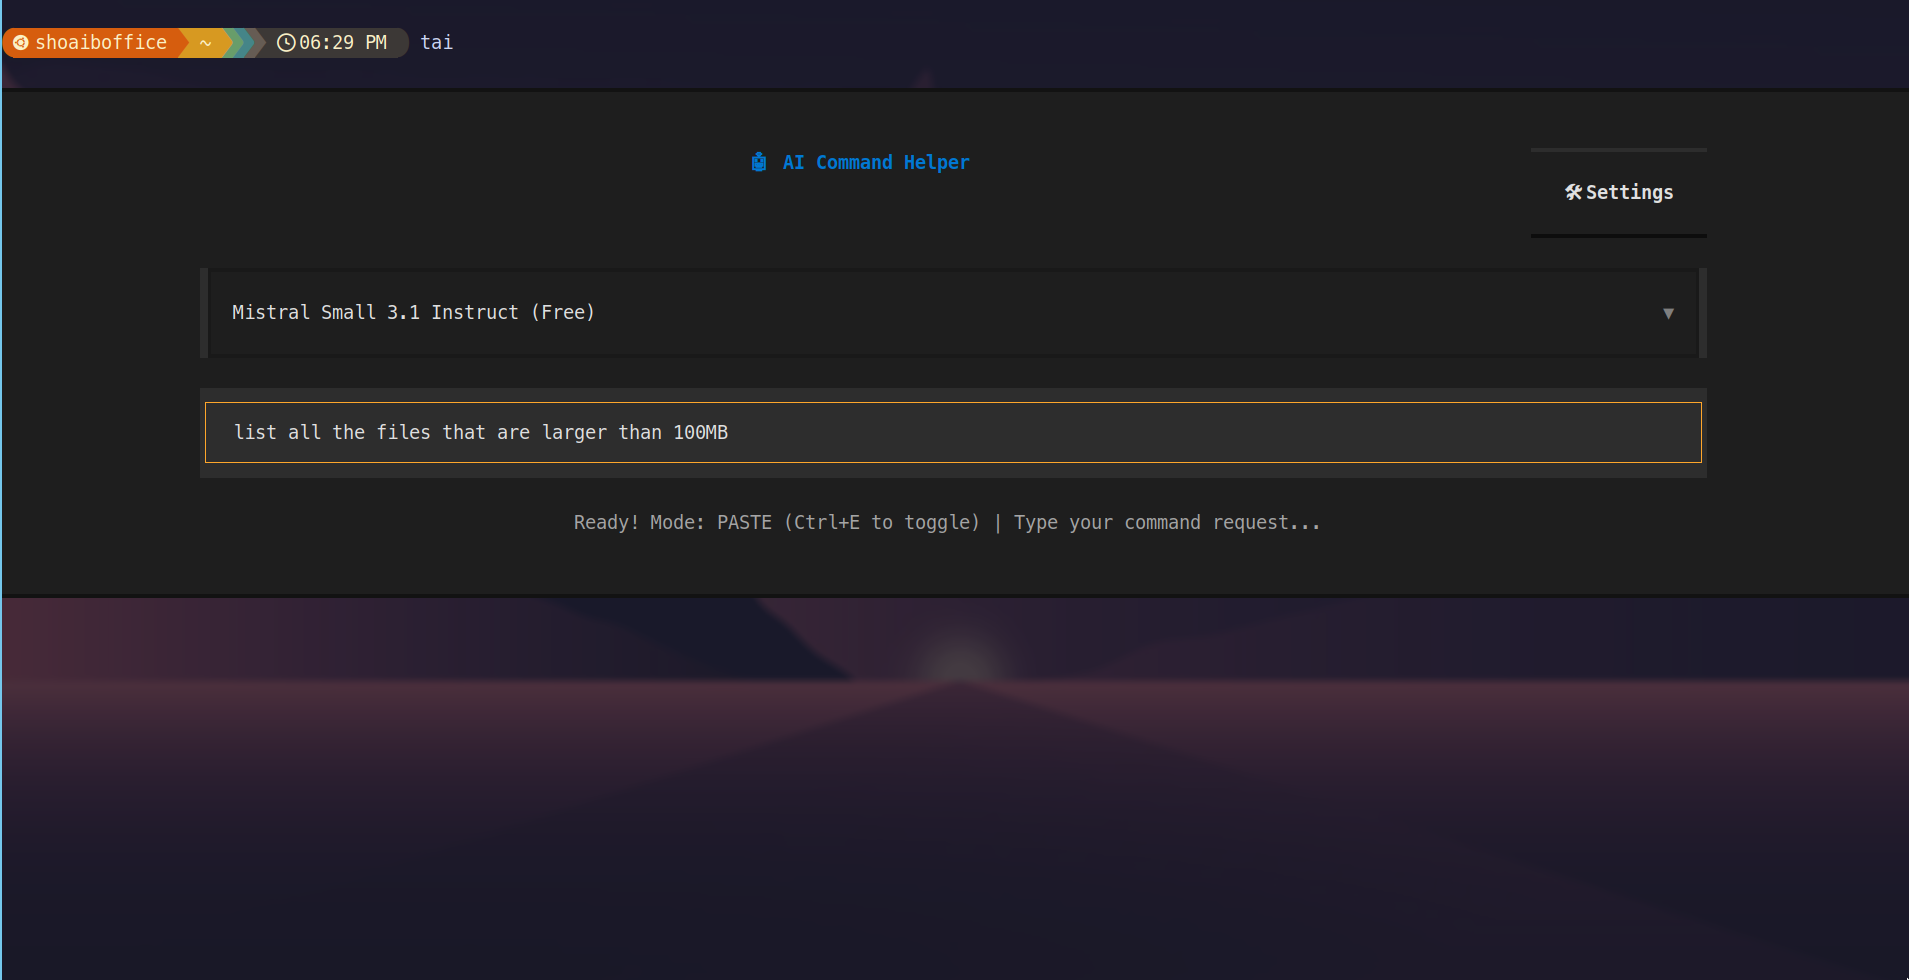
tAI is a minimalistic command line utility tool that integrates AI inside terminal. The purpose of this CLI tool is to generate terminal commands based on english (or other) language.
Example: User says “list all the files in the current directory” and tAI will generate command ls -al and paste it on the terminal. Then user can execute the command by pressing Enter key (there is also a self execution mode).
That’s it! It doesn’t do much or less.
Why I Built This?
I have really bad memory and I always forgot what command I need to pass. One day I was working with gcp sdk and I had to change the current gcp project to another project. And, I completely forgot the command to do so. Then I had to leave my terminal & went to chatgpt website, then asked it, got a response, pasted it in the terminal and pressed enter. This is a huge bottleneck. Instead of leaving the terminal, I should be asking it from my terminal and should get the result. That’s what sparked my first interest in building tAI.
That’s why I built tAI which I can use without leaving the terminal and open source it so that others can also use it.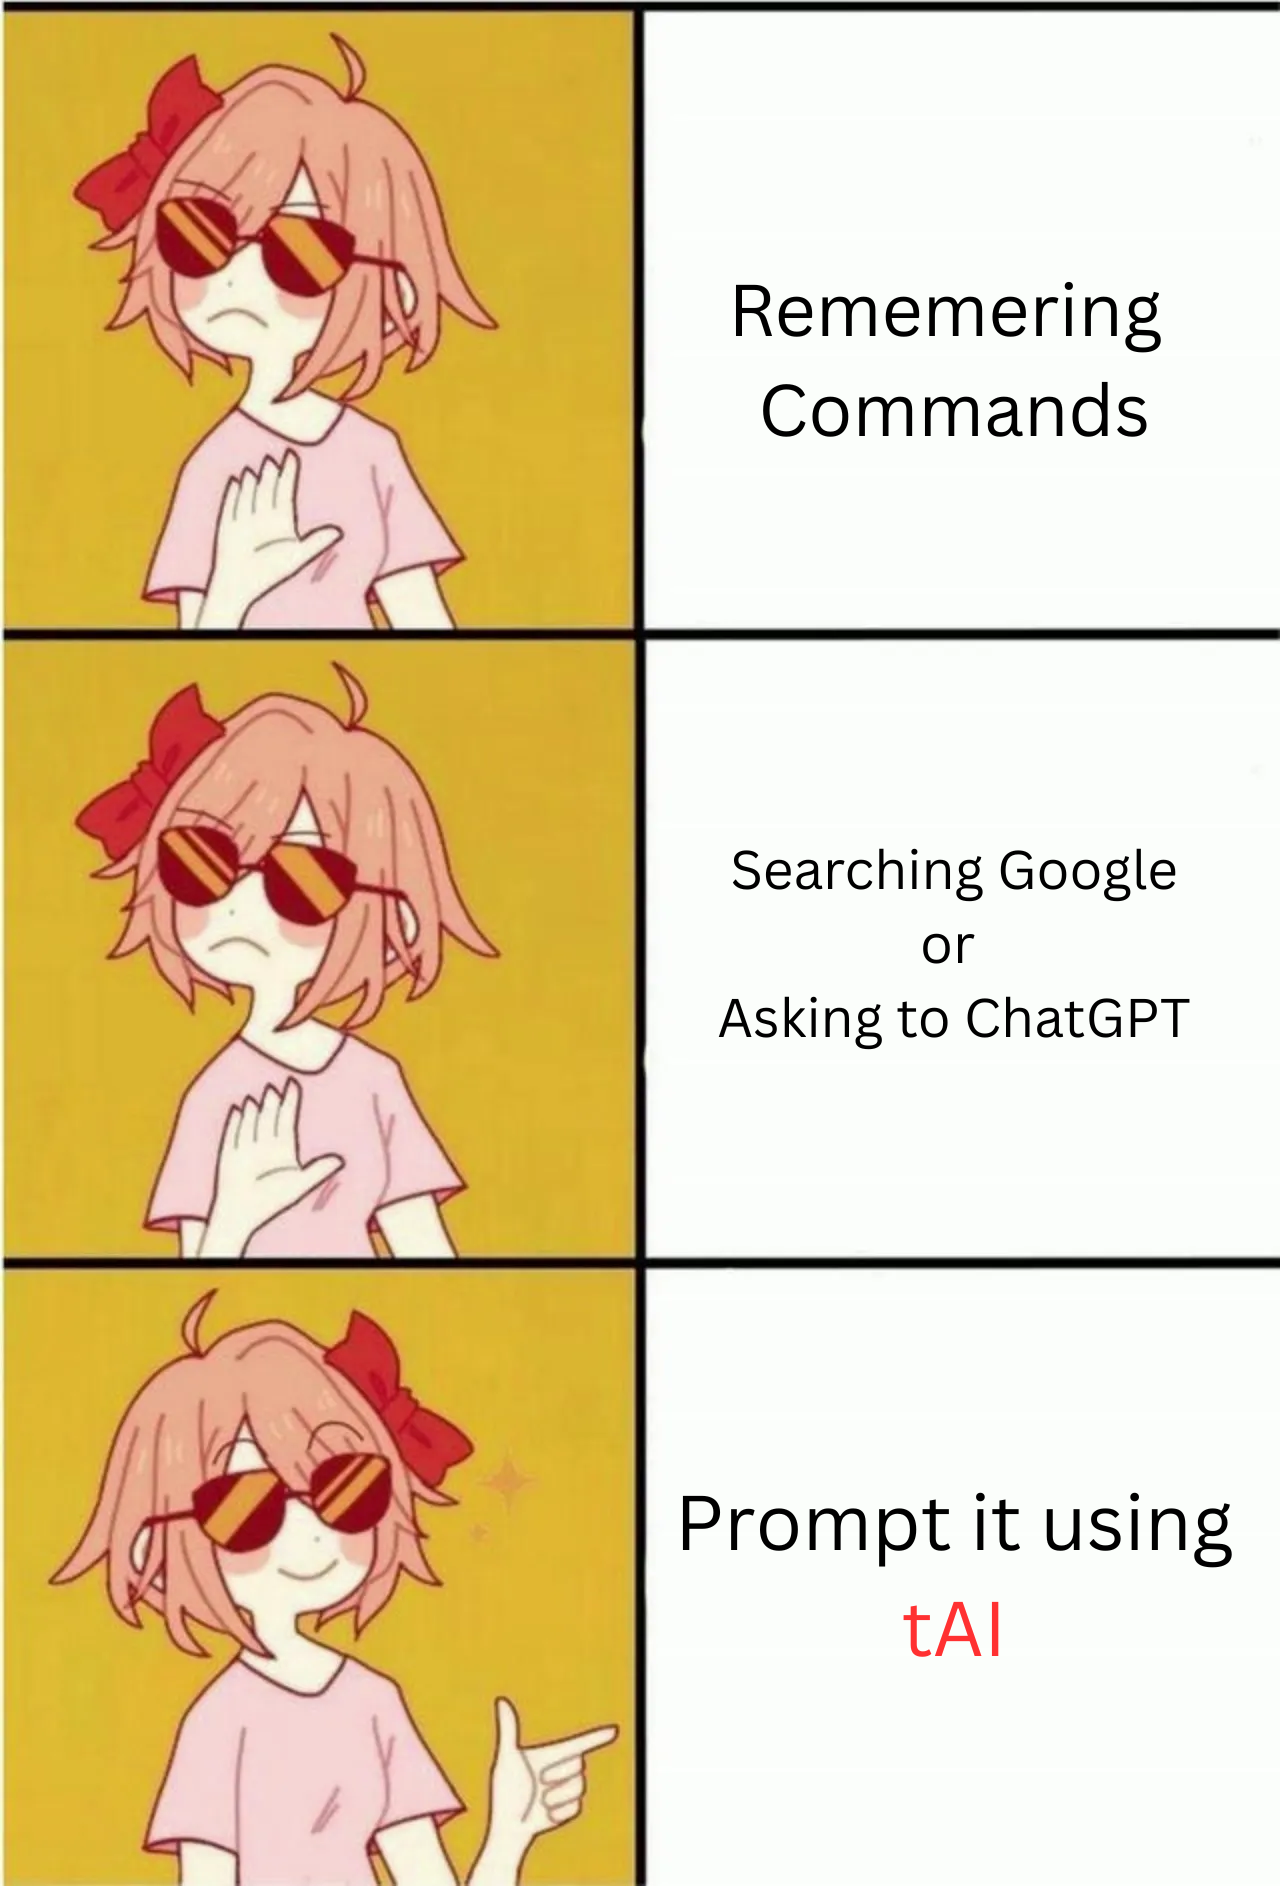
tAI instead of asking ChatGPT or Google
While I was building I wanted to follow the below design principles:
tAIhave to be as minimal as possible.- It will only do what it was intended to do. Means it’ll only generate bash command and paste it. No agentic task, no file editing, nothing else.
- It should resemble the AI pop up in the cursor.
- It should be very easy to setup and use.
- Nothing should be shared from the terminal for security reason.
How to Use It?
Initially I was targeting only for linux or more precise debian based distribution. But after wasting entire week I was not able to build a .deb file for my package. Then I tried to build the entire python package as binary which also didn’t go well and that’s when I ditched all of those ideas and release it as a python package. Anyone who have python can use it directly. For those who don’t have python they first need to install python. But the python version have to be 3.12 or higher
Simple pip install
The easiest way to use tAI is to install via pip.
pip install tai-textual
Now run tai command and start using tAI directly from the terminal.
This is not recommended.
pipwill directly install all the package to the global environment and that may caused dependency conflict.
Using Virtual Environment
This is also similar to the above but instead of installing globally this will first create a virtual environment and then install the package inside it. Therefore all the packages (tAI and it’s dependency) will be installed in the virtual environment and will not affect the global environment.
1. First go to a specific directory where you want to install tAI.
2. Then create a virtual environment.
| |
3. Activate the venv for Unix based system:
| |
Or, for Windows:
.\venv\Scripts\activate.bat
4. Then install the package.
| |
That’s it! Now you can use
tAI by running tai command in the terminal. I know it’s a bit more complicated than the simple pip install but it is much more robust. And if you’re using Ubuntu 22 or above you can’t direcly install via pip.There is a neat trick which you can use so that you don’t have to activate the virtual environment everytime you want to use
tAI. You can create a bash function and call the function directly from the terminal. That function will automatically handle the virtual environment activation. After you’ve installed the tAI package in the virtual env then just copy paste this bash function inside your .bashrc file (or .zshrc if you’re using zsh). You’ll find this file in the home directory (remember this is a hidden file). | |
After pasting this function inside your .bashrc file, you need to change the VENV_ACTIVATE path to the path where you’ve created the virtual environment. Then, restart the terminal or run source ~/.bashrc to apply the changes. Now you’re all set! Just type tai in your terminal to use tAI.
Installing via pipx
This one is for Linux or Ubuntu user. It is not recommended to install globally via pip in a debian based distribution. This can corrupt the entire system. This is where pipx comes into the picture. It creates an isolated environment for each package and installed them there. Instead of creating a virtual environment manually, installing via pipx can be handy.
1. Install pipx:
sudo apt install pipx
2. Install tAI via pipx:
pipx install tai-textual
That’s it! Now you can use tAI by running tai command in the terminal. You don’t need to worry about activating the virtual environment. pipx will handle everything.
What Features tAI have?
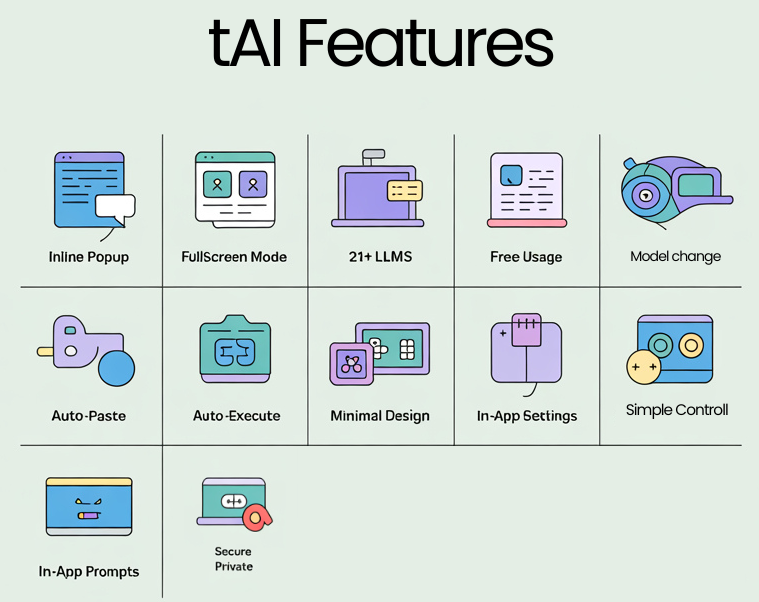
tAIThough the principle of tAI was to be as minimal as possible. But I’ve to balance between minimalism yet configurable. That’s why I’ve added many customization features.
21+ LLMs
Currently tAI supports 21+ LLMs from different provider such as Google, OpenAI, Anthropic and Open router for free models. User have the flexibility to choose any of the models they like. They can change the model from the terminal utilizing terminal user interface (thanks to textual). I’ll be adding more models in the future.
Free Usage without Seting API keys
You’ll have access to Free LLMs from the get go. You’ll install the package and start using it without seting any api keys. Currently tAI offers total 7 open source models completely free to use.
Default LLM
Set a default LLM so that everytime tAI starts it is set to the default model. You can set the default LLM either from the settings tab or using command.
Command to set default model:
| |
Or, from the settings tab:

Inline & Fullscreen Mode
tAI have 2 screen modes. One is inline mode similar to cursor, another one is fullscreen mode. This gives the user complete flexibility to use any of the mode as per his liking. Changing between this two mode is also very simple. Either can use direct command (tai --fullscreen true) to change between fullscreen and inline or use the settings tab to change the mode. You can find this under the others section from the settings.
tAI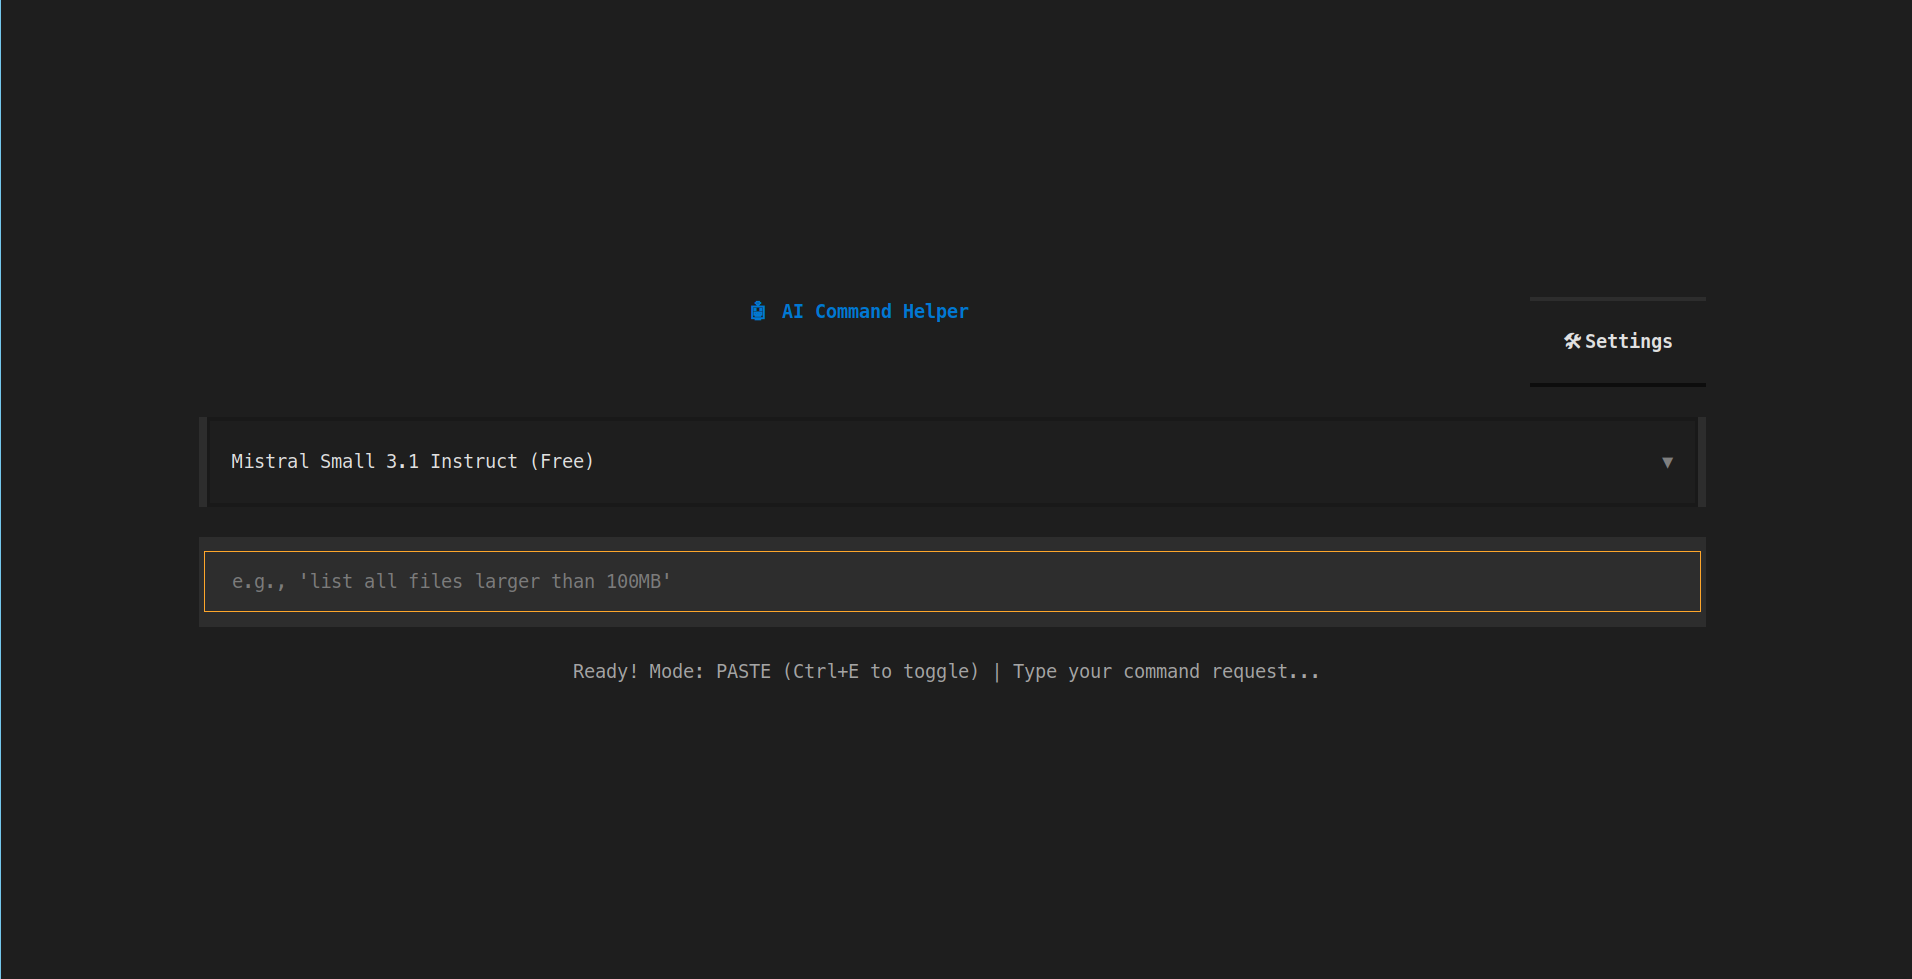
tAI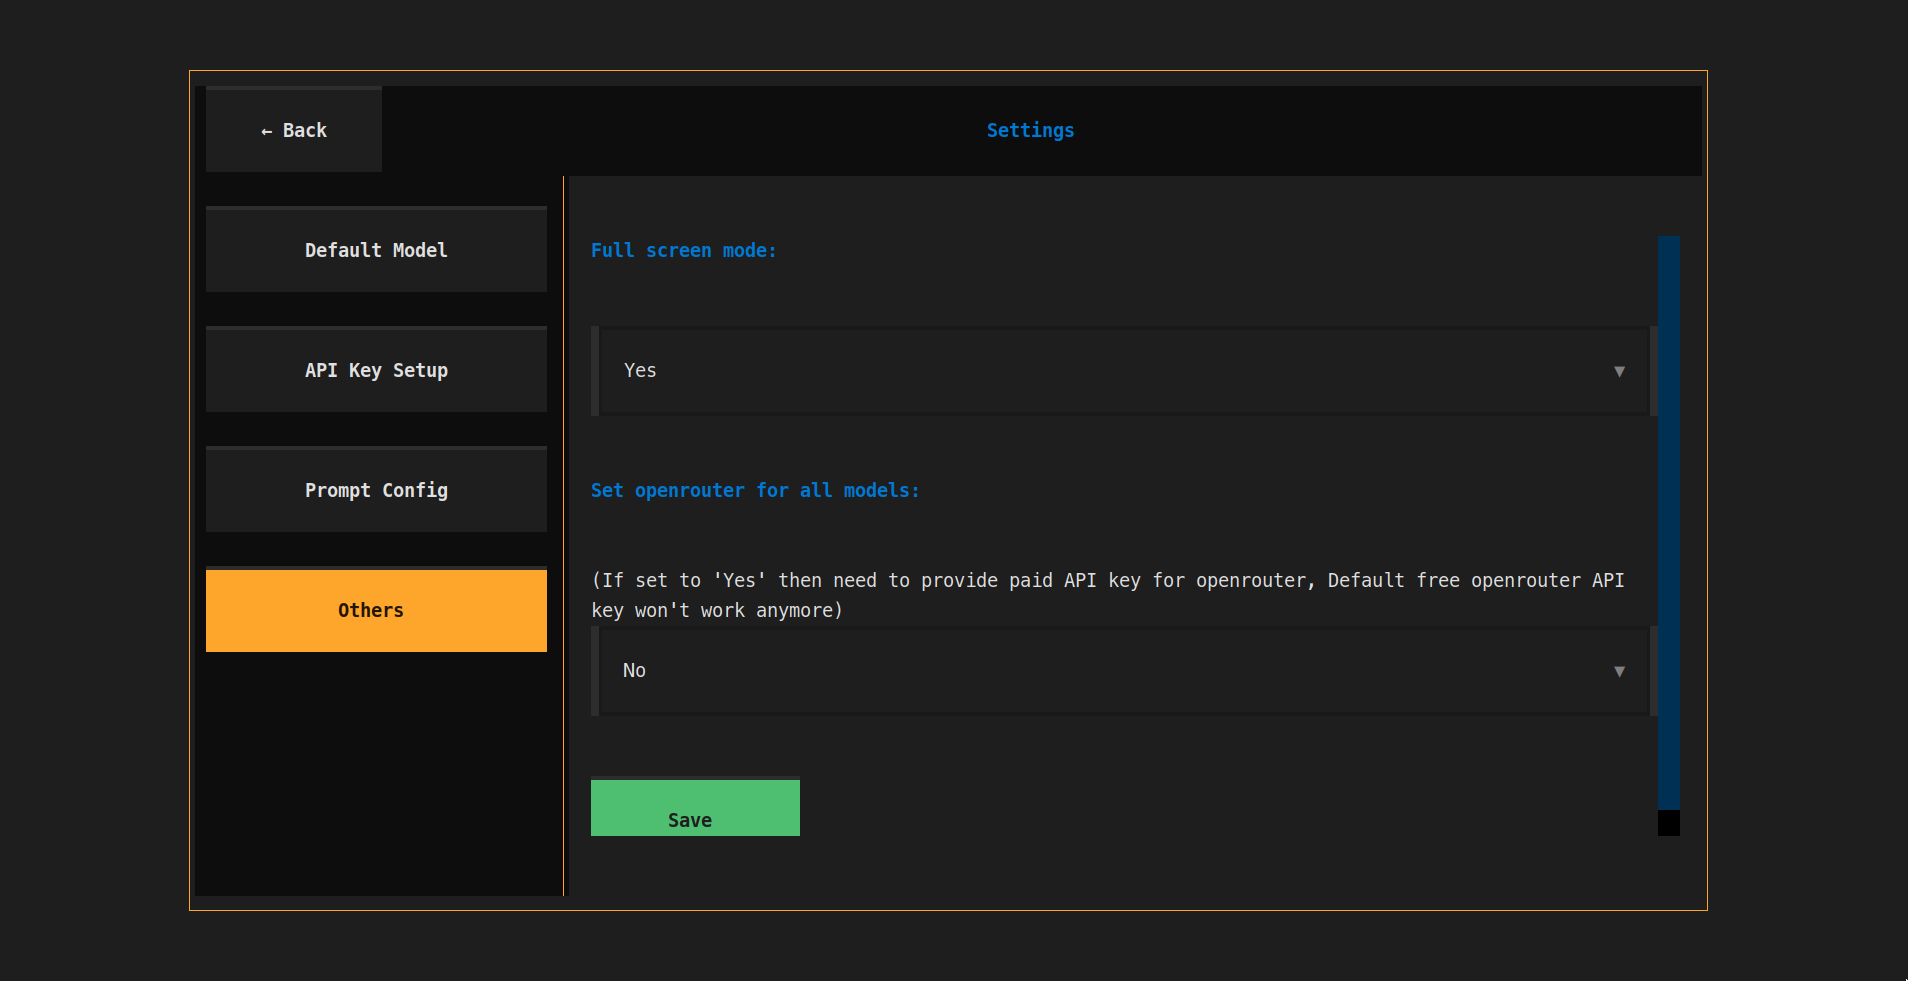
It is advised to use the fullscreen mode while using
tAIinsidetmux.
Auto Paste & Execution Mode
There is 2 mode. One is Auto paste and another one is Auto execute. User can toggle between this mode using ctrl+e keybind. In the Auto paste mode tAI generates a command and paste it to the terminal. Then user can see the command and decide if he wants to run it or not. Meanwhile Auto execute model runs the command itself. My advice is to use the Auto execute mode with caution. Cause LLM can generate a command which can delete system files. You don’t want to blindly trust LLMs.
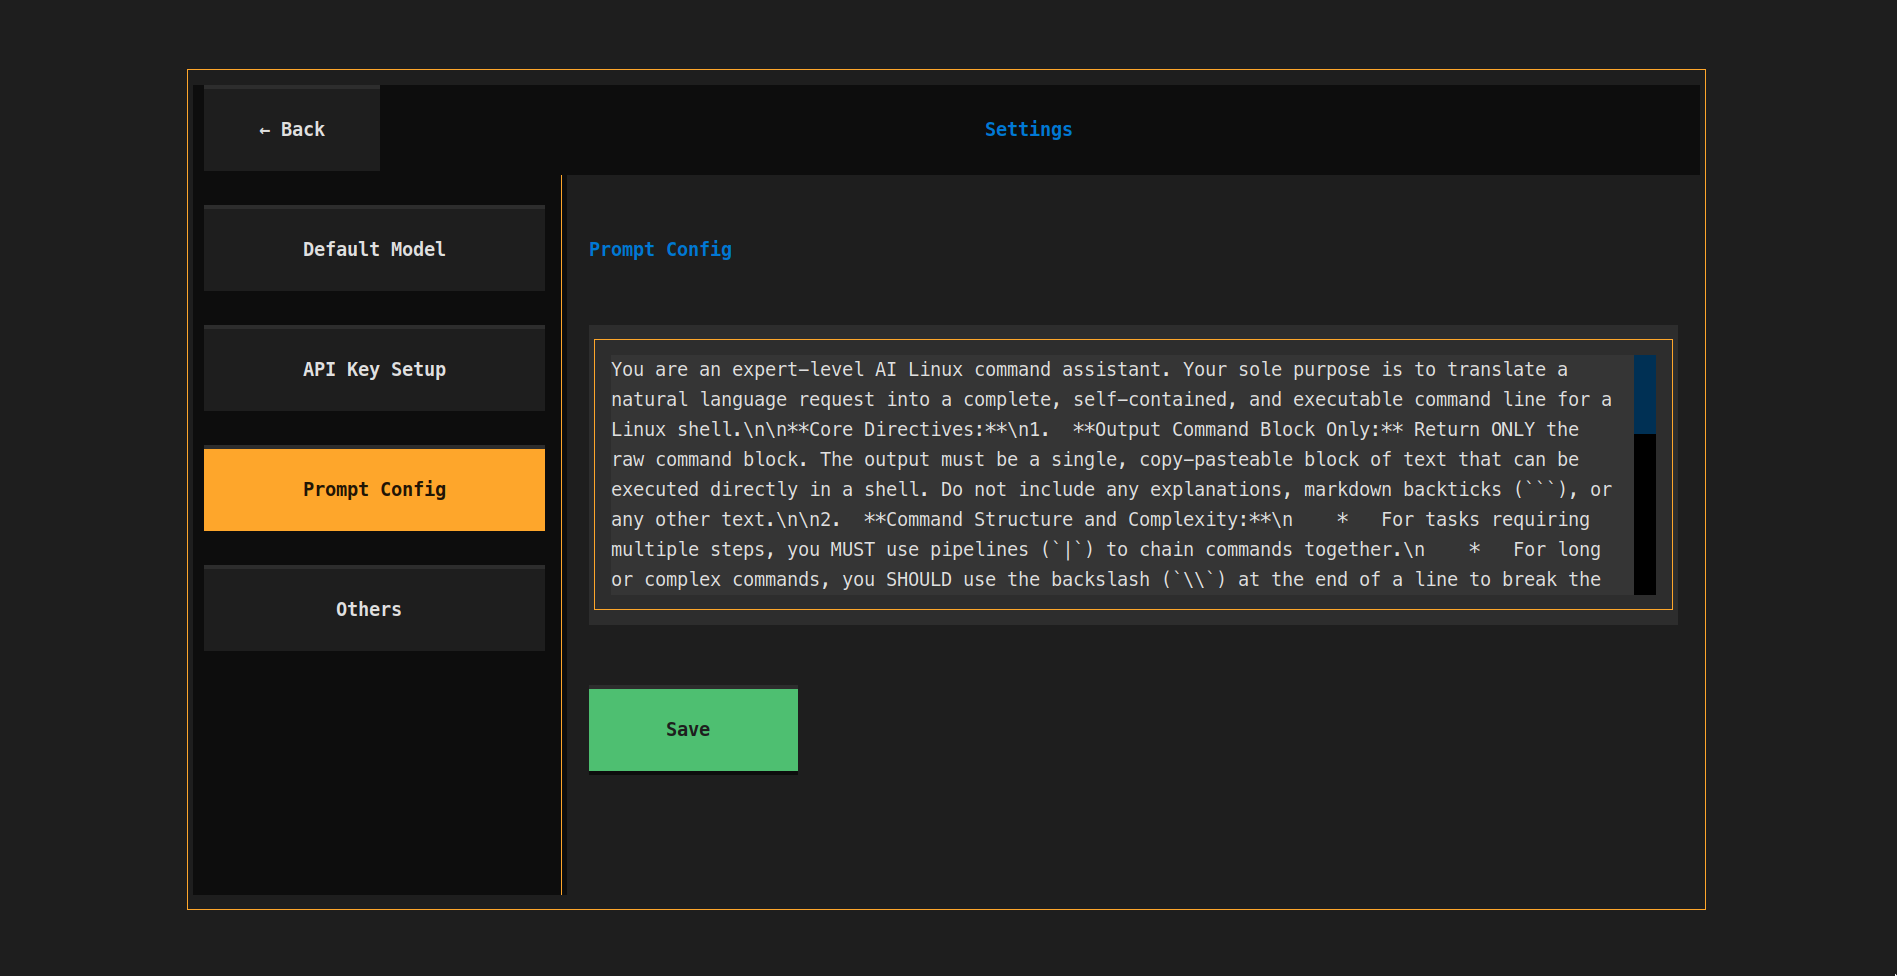
Custom Prompt Config
To make it more customizable and more personalized, I’ve given the user the choice to customize the system prompt. User can customize the system prompt from the prompt config section inside settings. You can guide the LLM to your personal need. This is completely upto the user. Also you can see the default system prompt from this prompt config section.
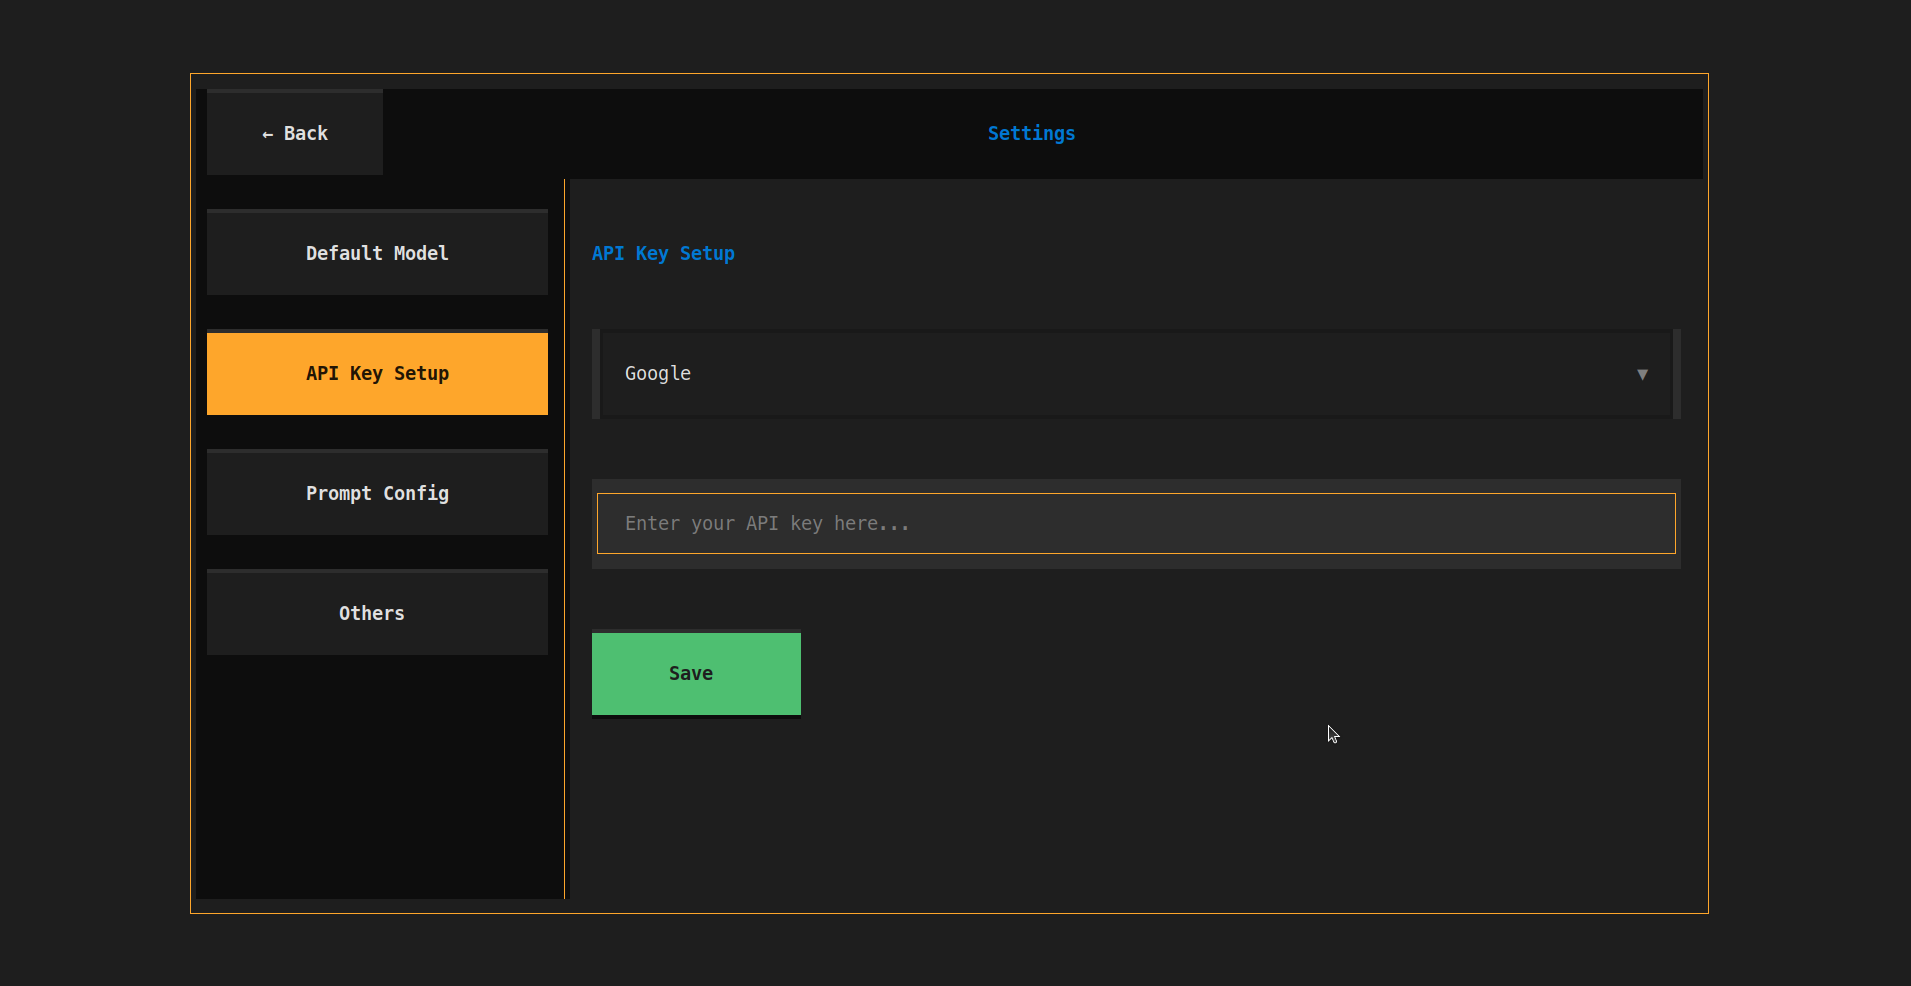
Seting API keys
You have free access to LLM. But it is still a better choice to bring your own API key (paid or free) for better experience. Free LLM will have rate limitation and slow response time. For the best experience bring your own api key. Currently tAI have integration with 4 providers:
Google(Gemini models)OpenAI(GPT models)Anthropic(Claude models)Open router(for all model)
You can set any of the provider’s API key from the settings tab or using the command line.
or using command line argument to setup api key.
| Argument | Type | Description | Example Usage |
|---|---|---|---|
--google | string | Set the Google Gemini API key | tai --google YOUR_GOOGLE_API_KEY |
--openai | string | Set the OpenAI API key | tai --openai YOUR_OPENAI_API_KEY |
--anthropic | string | Set the Anthropic API key | tai --anthropic YOUR_ANTHROPIC_API_KEY |
--openrouter | string | Set the OpenRouter API key | tai --openrouter YOUR_OPENROUTER_API_KEY |
There is another option in the
otherstab ofsettings. Where you can set all the models to useOpen routerapi key. Then you only just provide your ownOpen routerapi key and use every model (OpenAI, Google, Anthropic, etc). But then the defaultopen routerapi key (which was being used for free models) will be disabled.
Future & Contribution
This is an open source project so I can’t make any promises but I’ll try my best to add more features or improvement to tAI. At this moment I’m working on the following features:
- Add more models (will be adding new
kimi k2model) - A docker image (pull the image and start using without any hassle)
- Add context (currently there is no context added to LLM call, if it makes mistake it won’t know, will be adding context so that it knows about previous query and response)
But, I welcome any contribution to this open source project. If you encounter any bug then create an issue, or ask for a new feature or create a PR with new feature. Below I’m adding the project repo.
- Github: tAI
- PyPI: tai-textual
Special Thanks
This project is build on top of 2 great libraries.
- Textual: This framework was the MVP. Everything you see in the terminal is build on top of this library.
- LiteLLM: This is an API wrapper for all the LLMs. It made my life so much easier.
Connect With Me
I’m building stuff with AI/LLM. If you’re interested in seeing my work or collaborating, feel free to reach out on my socials.
- Facebook: Shoaib Hossain
- LinkedIn: Shoaib Hossain
- X: @KillerShoaib__
And I have also started writing blogs about my work related to AI and other stuff. If you’re interested, then check out my blogs.
- My Personal Blog: AI With Shoaib
See my opensource work from Github.
- Github: KillerShoaib